|
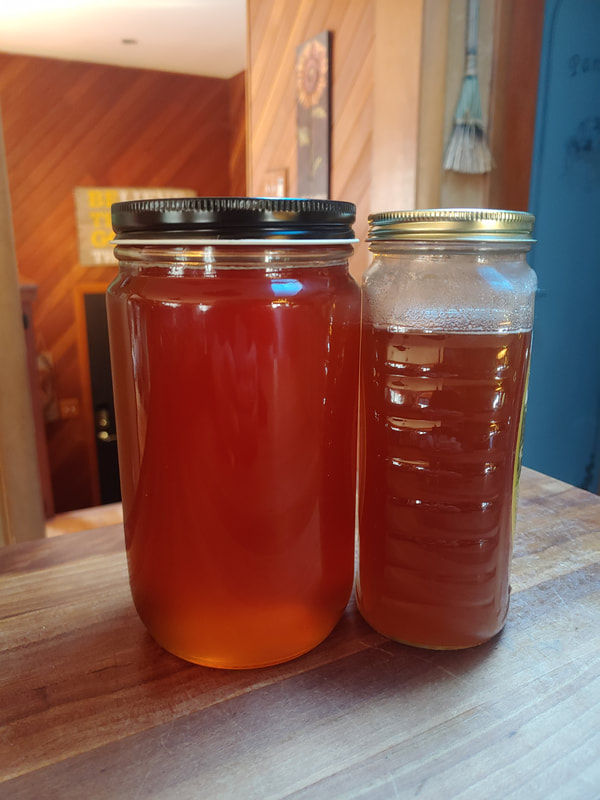
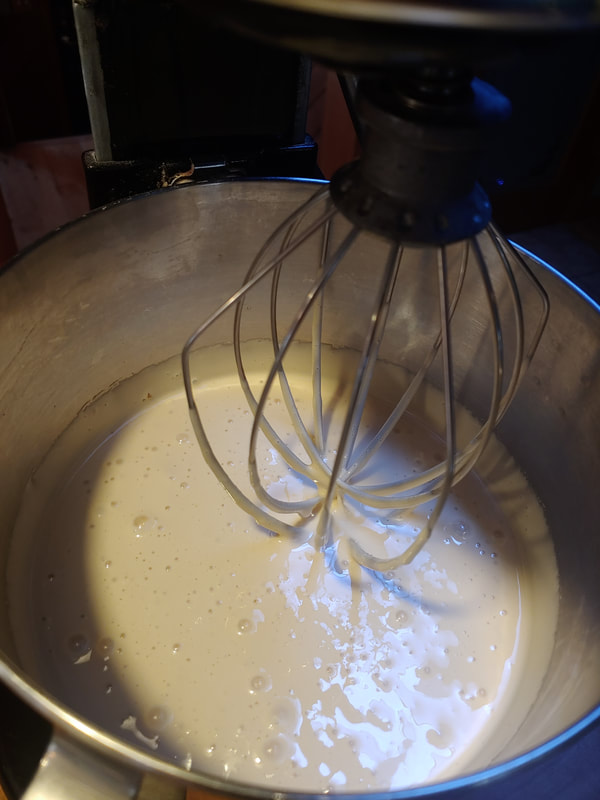
Honey is the most amazing substance on the planet! (In my opinion, of course!). It never, ever, ever, ever goes bad on its own merit. EVER. It may crystalize but that does not mean it has gone bad, nor is it unusable. I love it as a substitute for sugar in many things but honestly, my favorite use for honey is medicinal. It is amazing at clearing skin, healing wounds and burns and soothing a very sore throat while also calming a cough. Honey goes well with so many things but it can be runny and messy, which is not a bad thing but there can be a sticky mess when using it. This post is not really about all the magical aspect of this amazing super-food; if it was, it would be way too long. I just wanted to show you creamed honey! It's not my honey, as we are not currently keeping bees and the honey we have harvested from our own hives is long gone and fully enjoyed; however, I buy all my honey from local apiaries and I am not shy about how much I do buy. Let's just say I am very supportive! Creamed honey is just a way of processing raw honey so that it avoids the larger crystallization that can sometimes get annoying. Instead of the large crystals, creamed honey contains smaller ones thus preventing the annoying solids in your liquid honey. Creamed honey has the same taste, medicinal properties and nutrients but it is just a bit easier to manage. You will need to introduce some crystals into your liquid honey so if you have a new jar you bought or harvested that you want to cream, use a bit of that jar you probably have in the back of your pantry that is crystalized and you are on your way. I am not very scientific about it but I believe the proper ratio is 1:10, crystalized to raw, but I just add some of what I have. I am sure as you research this, you will find lots of varying ways but here is just what I do to make myself happy! Place your honey in a bowl or stand mixer and whip away at medium speed for about 15 minutes. By this time it will be creamier in color and texture. Let it rest for about 15 minutes then whip away again at medium speed for another 15 minutes. Pour it into jars while still pourable as it will get more solid as it stands. Keep it airtight and avoid moisture as water will ruin your honey.
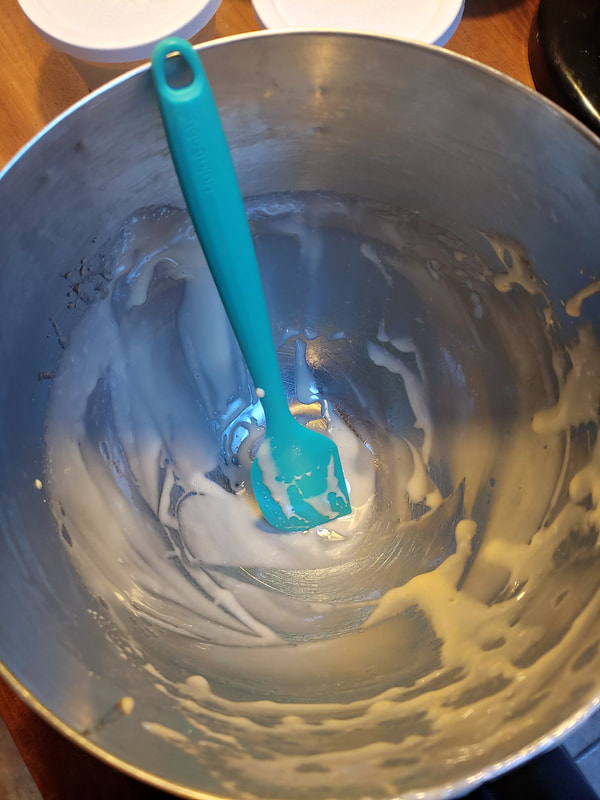
Don't forget to lick the bowl clean! You can always add crushed, dried fruit, some cinnamon, maybe some dried herbs, etc… Keeping it in the fridge is not needed at all, just like raw honey, but it will give you more of a peanut butter consistency if you do. You can add it to butter and make honey butter, you can just spread it on muffins, toast and things like that. It can still be used on cuts and scrapes and it makes a great face mask! I would love to know how you do with yours!!
0 Comments
Why make your own fire starters? Those that know me will know what I would say to that…"Why not!" Summit Valley Farm motto - make your own whenever you can! Honestly though, they are super simple to do with items you may just already have lying around. There are so many ways to make fire starters but I chose this way due to the resources I had! This is a great example of low waste and minimalism for the real person! All natural fire starters are fun and super easy to make! There are many options for materials that are eco-friendly and use up stuff you may already have or can get from friends, neighbors or family members. In my case, a family member who had an overabundance of pinecones in their yard this year asked if I could use them for something; of course, I snagged them! I took them home, lay them out for a few days to dry completely and then got to work! I happen to have leftover soy wax from when I was making candles but if you have some candles hanging around that have very little left in the jars, feel free to use that! Try to keep it all natural and avoid using paraffin and artificial fragrances. I do not add any essential oils as I feel it is a waste because you cannot really smell it anyway and the point is to get your fire started. The little add-ons we tend to see look cute, but can get expensive. I like to keep it simple but you do what you like! A good fire starter will have a wick and a way to stay lit long enough to catch your wood on fire with no need for paper bunches or kindling. For me, I have this super cute cast iron stove so I used one of my little fire starters and added my wood and I was good to go. You can use these in your wood stoves, fire pits, fireplace, etc. These are not candles so please do not use them that way, be safe and know what you are doing before you use them. Gather your materials and any helpers you may have and have fun!!! Here is how I made mine! Let me know how you make yours! Materials:
Instructions:
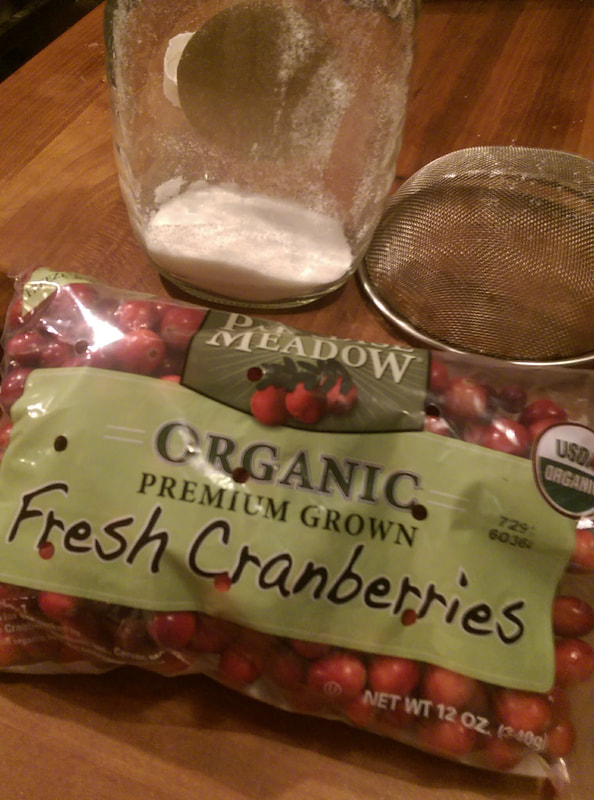
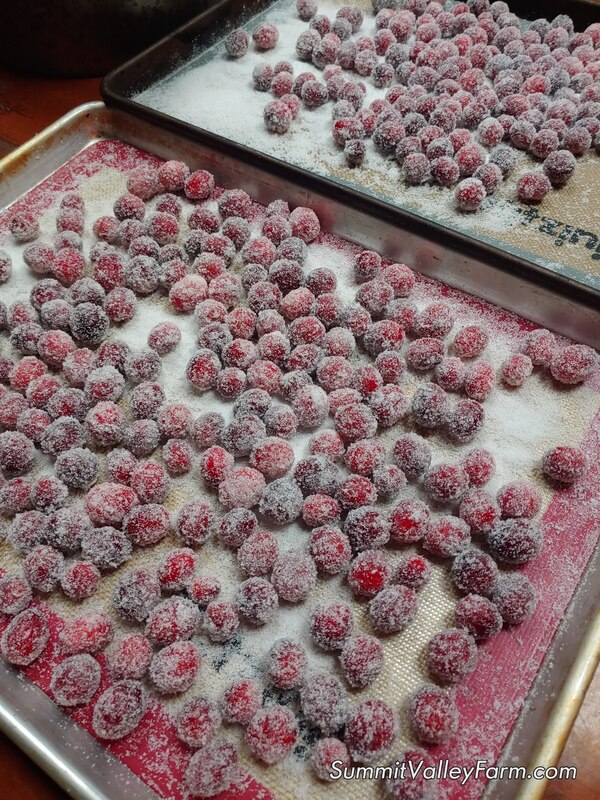
I love the fall! It comes with a chill in the air and it's time for all the cooler weather foods like hot cocoa and soup! One of my favorites is my sugared cranberries... crisp, sweet and tart all at the same time. Cranberry is a fall flavor and this recipe is so easy! Here is what you need and what you do! If you can grab local ones then please do so! I usually can here in New England but not for this batch; next time!
1 lb fresh, raw cranberries - pick out any stems and any white-ish or squishy berries. 3 cups sugar 2 cups water
Enjoy and happy fall!!!! With baby goats and chickens comes fresh milk and eggs!
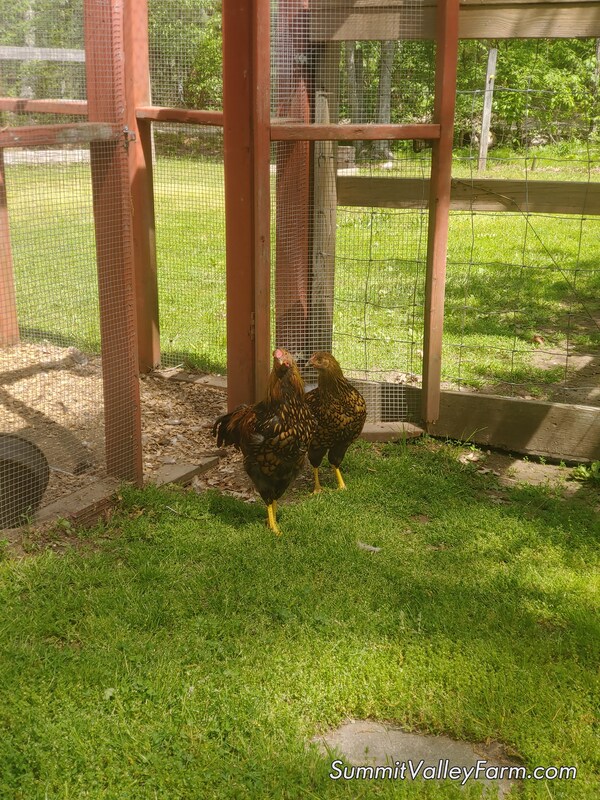
It is such a great feeling to be able to gather food with your own hands that you made happen; raising chickens for eggs and milking mama goat by hand does take some work but the rewards are worth it! We gather eggs daily, we get many and are not able to use them all so we share the wealth and pass them along to friends and family. Same with the milk - we use what we need to for cheese, yogurt and daily cereals and recipes like pancakes and soap and give a lot away as well. There really is something about holding onto eggs and milk so fresh they are still warm and just wondering what magic you can make from them! Basic ricotta cheese recipe for when you want to make lasagna or stuffed shells...makes about 2 pounds of cheese: 1 gallon fresh goat milk Approximately 1/4 cup apple cider vinegar (use your own freshly made! See my other blog posts for how to!) 2-3 Tablespoons melted butter 1/2 teaspoon baking soda Heat your milk to 195*F Slowly add the vinegar a little at a time stirring as the curds and whey separate (takes a few minutes) Remove the curds with a slotted spoon to a cheesecloth lined strainer Drain for a minute or two then add the melted butter and baking soda Stir to combine, refrigerate up to one week Love, love, love apple season!!! We do grown our own, the crop this year did not yield as much as past years but we have enough to make some things!
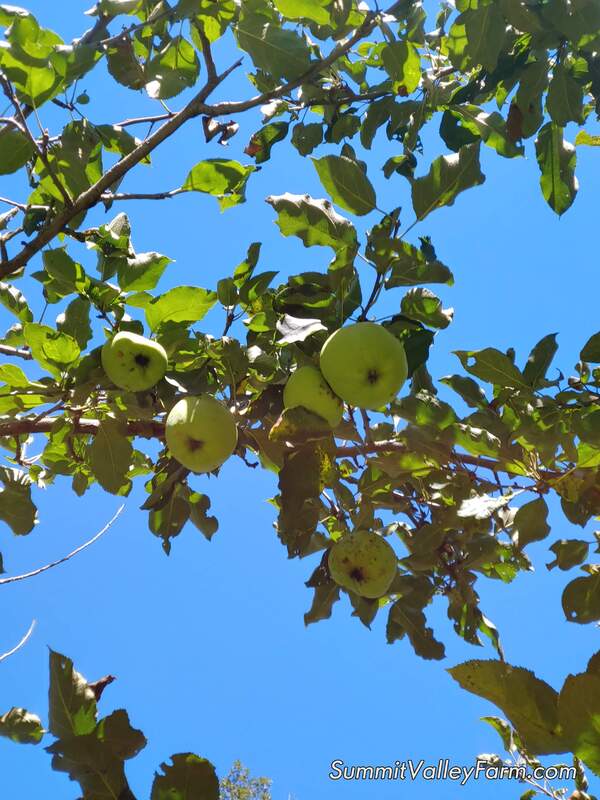
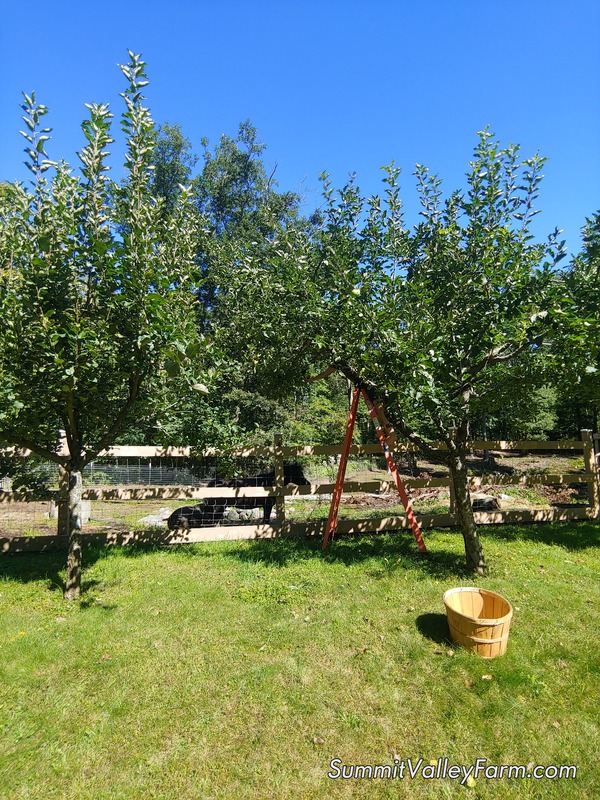
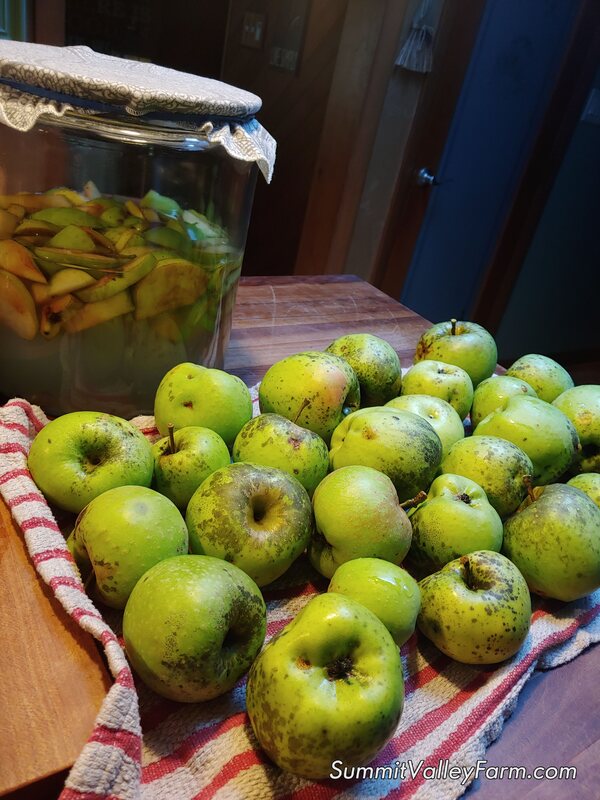
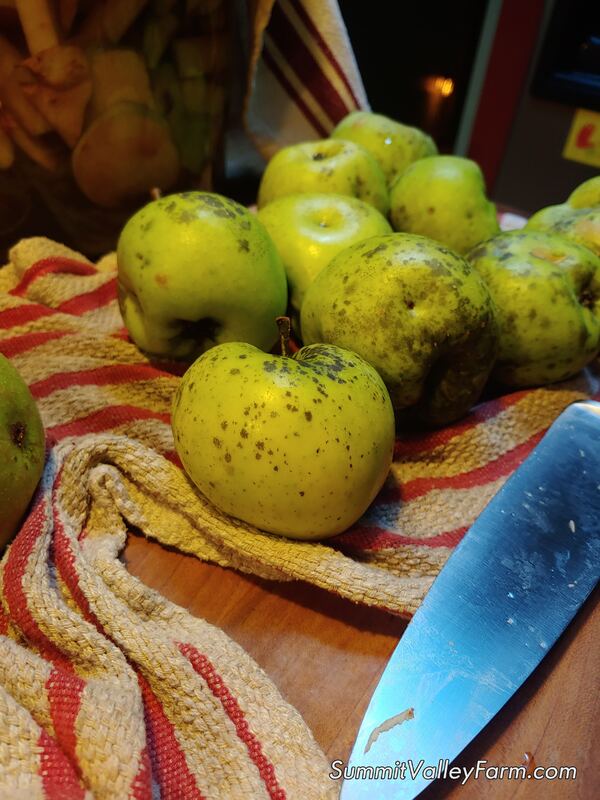
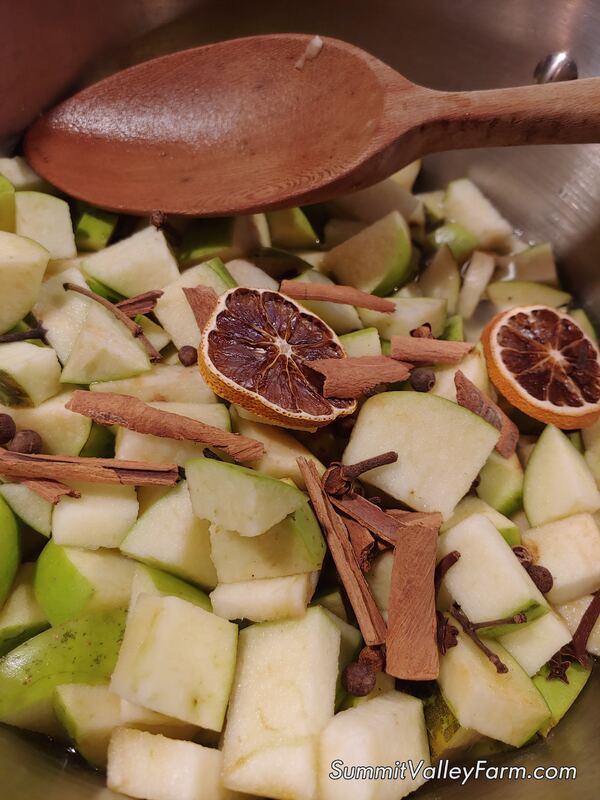
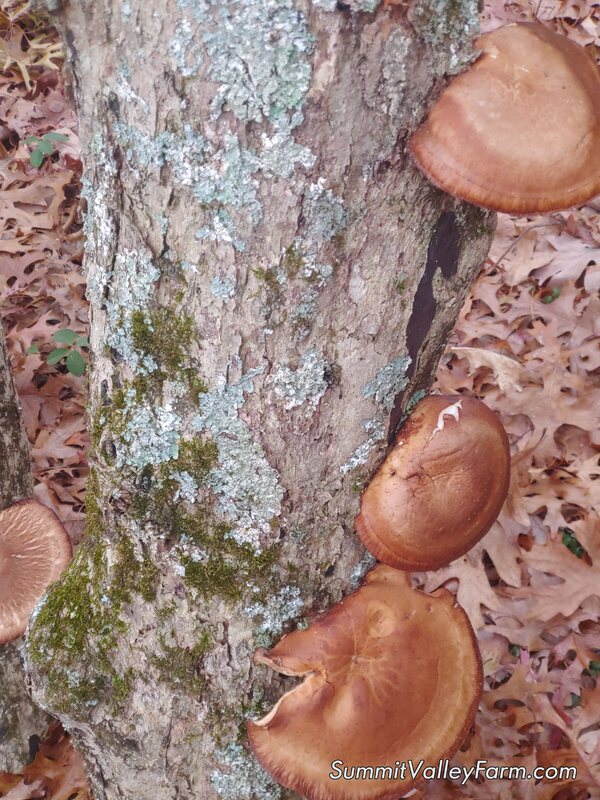
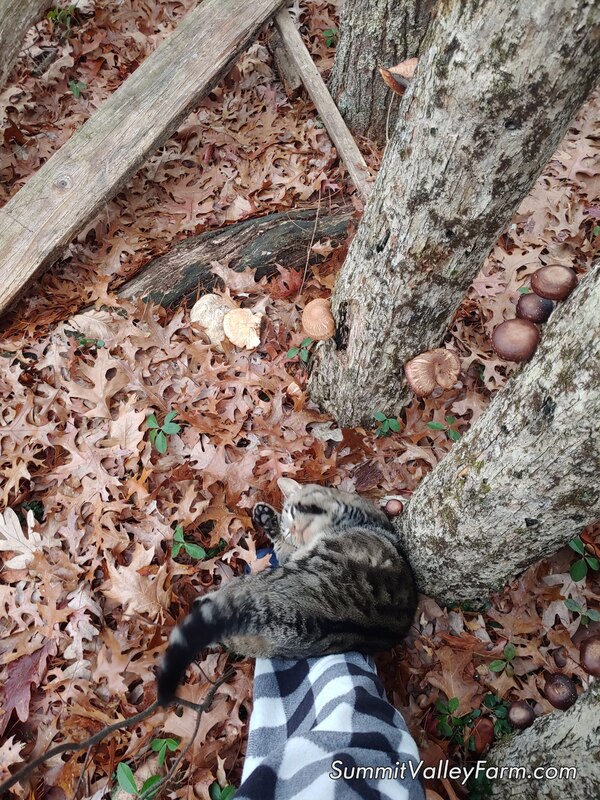
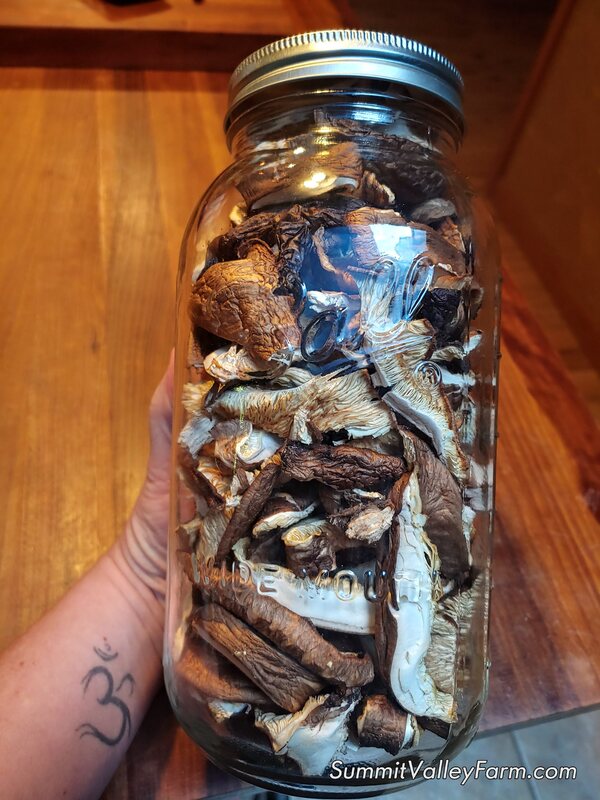
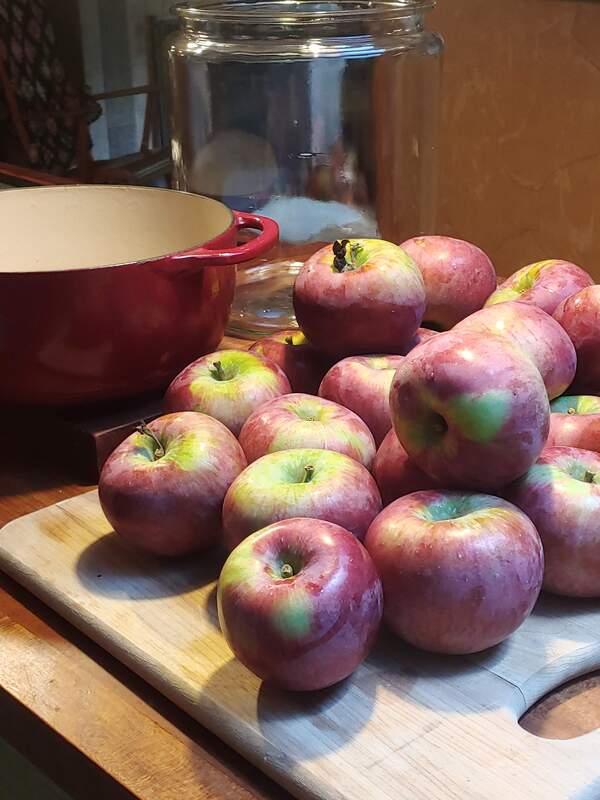
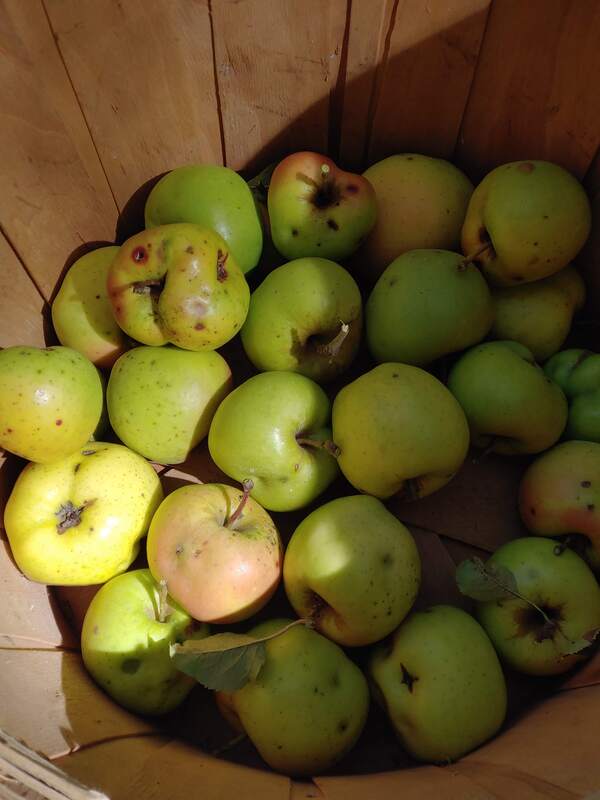
After grabbing all the apples from the trees, mostly Mutsu but one or two Ida Reds, we gave the "undesirables" to Apache! He loves them and was waiting, somewhat impatiently, for us to toss some over. I ended up making some mulled apple jelly, adding cinnamon, allspice, and clove to the recipe! It was my first time using Weck canning jars, I usually use Ball but these are so pretty! Miss that "ping" though...if you know, you know! I used most of the apples for a new batch of apple cider vinegar and am looking forward to it being done! I love the smell, it is just so healthy! What do you make with fall apples? Would love a recipe, post one if you got one! Happy Fall!!! Back in 2010 Dan took some old wood logs and started to grow shiitake mushrooms, sadly we did not really pay too much attention to them until now. In the fall of 2020 I walked by the area where they were growing and felt the need to harvest them...so I did! They were growing in abundance in those logs! I harvested the ones that looked good, which were most of them, and left the rest. I have since dried and stored them and have used them in soups.
Apparently there are several compounds in shiitake mushrooms that help lower cholesterol and may reduce your risk of heart disease. They also help boost your immune system and may also help fight cancer. They have a rich, hearty flavor and have long been used in Asian herbal medicine. Not only can they be used whole in soups, rice and veggies but after dried, they can be ground into a powder and added that way to all kinds of soups, sauces and all kinds of dishes! Share how you use your mushrooms! For those who know me, they know I love to make things from scratch! In conversations about what I make I often hear "You can make that??" Yes, you can make most anything and it will almost always be cheaper and much, much better! Plus you get the satisfaction of making it yourself and that comes with some bragging rights for sure....
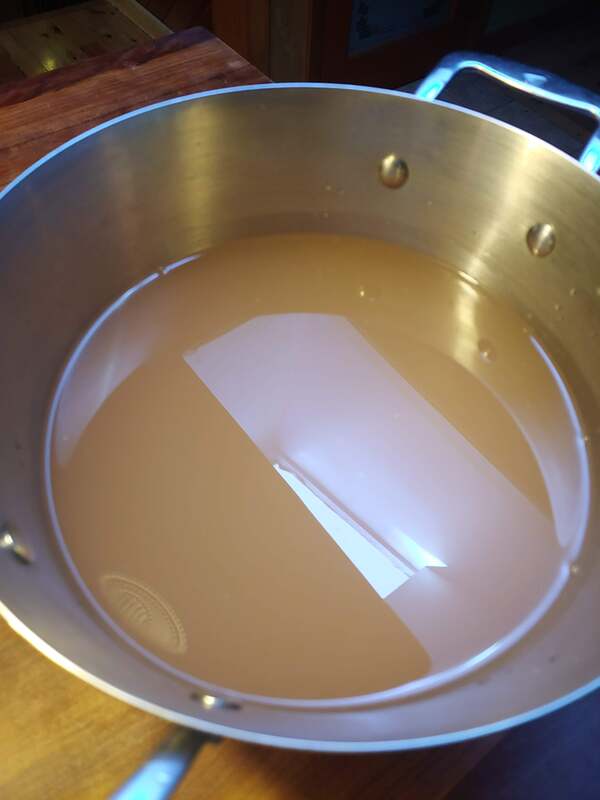
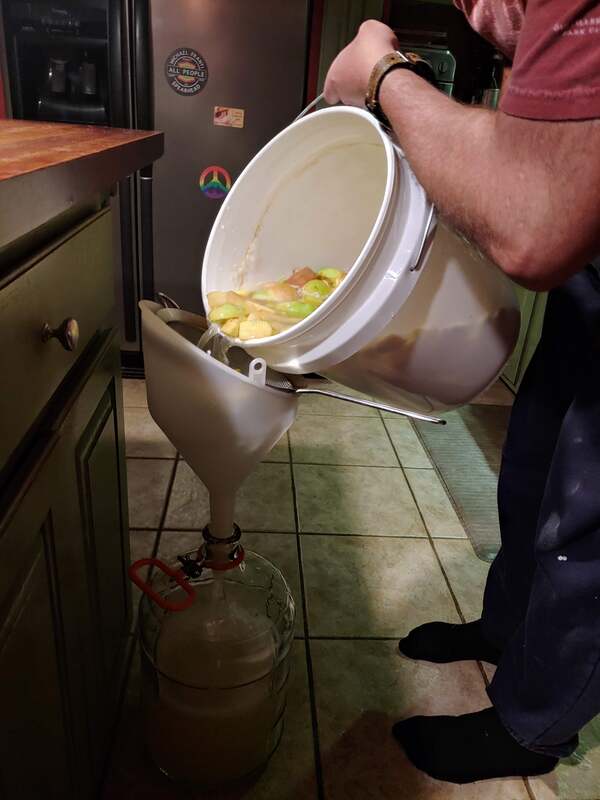
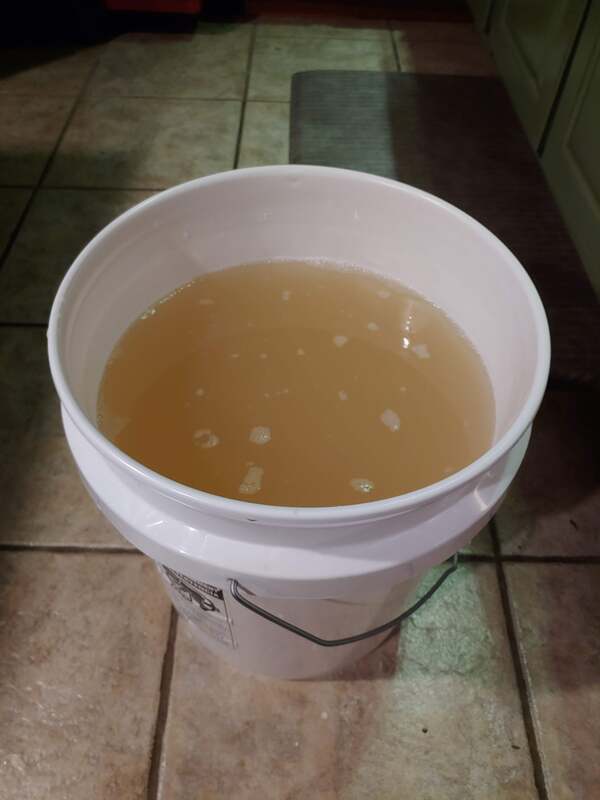
My most recent endeavor was making apple cider vinegar. We have our own apple trees but did not get the best yield this year so at the end of the season. The ones that were left that we did not eat or give to our farm animals were not in the best shape so they were perfect for making vinegar! I had two batches going because we also got a whole bunch of apples for our local orchards who we are looking to support the best we can. I made and canned apple sauce and used the scraps for the vinegar. The process is simple but takes time. I am taking video footage and photos of that process and will let you know when I post it to my YouTube channel but in the meantime, here are some pics! Dan helping me strain the larger batch which I then combined with the smaller for a grand total of almost 5 gallons of apple cider vinegar! That would cost anywhere from $100 - $200 if you purchased it instead of making it. Huge savings and, again, bragging rights.... The scraps ended up being fed to the chickens, Hazel and Apache - what a treat for them! #nowaste It's got a couple of weeks left until its ready to be bottled but it smells awesome! Fresh, clean and healthy apple cider vinegar! Hey y'all! I am completing some Ebooks that I have had in my brain and I am very excited to be able to share them with you soon! I am just looking for a good platform to be able to sell them and once I have that together then I will let you know!
These Ebooks are geared towards natural wellness (of course!) and will vary in topic from diet to journaling to yoga and everything in between! Natural wellness is attainable and is a constant, fun discovery of yourself and an amazing journey! You will not be disappointed with your journey - it will be simple; not easy, but simple. ;) Welcome back to class!
Please see the prior blog post for details but the brief summary is we will start to hold classes again but only on Saturday mornings for now, effective June 13, 2020. A great Hatha class for 1 hour, 9:30 am - 10:30 am. You MUST wear a mask, NO exceptions and I do not have extras. You need to have your own mat with you as I will not have shared ones available at this time. Please bring your own water, also absolutely NO food or gum please (which was always a rule but be extra mindful now). There will only be room for 6 people (not including me) and I will have certain spots to put your mat on the floor in the studio, please do not deviate from that. I appreciate your patience with these rules, it is very important to me for all of us to remain safe. Please contact me with any questions!!! Preparing to re-open the studio
SUMMIT VALLEY FARM AND NATURAL WELLNESS STUDIO·SUNDAY, MAY 31, 2020 Hi all! I just wanted to put this together as a place for my thoughts on re-opening the studio! I have come up with the following list. I am thinking that I will start Saturday classes on 6/13/20 but I will confirm for sure by next week. Please check back as this list may be updated!!! :) Please read below and be prepared, I do not want to turn anyone away at the door but this is too important. I miss you all dearly but we need to be safe - this is not over by any means...
|
Archives
February 2024
|
